Short answer: There is no single best winter temperature for every mini split. ENERGY STAR recommends a comfortable, steady heat-pump setting rather than automatically copying a furnace setback schedule. Start with a moderate setting that suits the occupants, use HEAT mode and check the actual room temperature. Follow your system's advice about setbacks and backup heat.
A starting point, not a guarantee
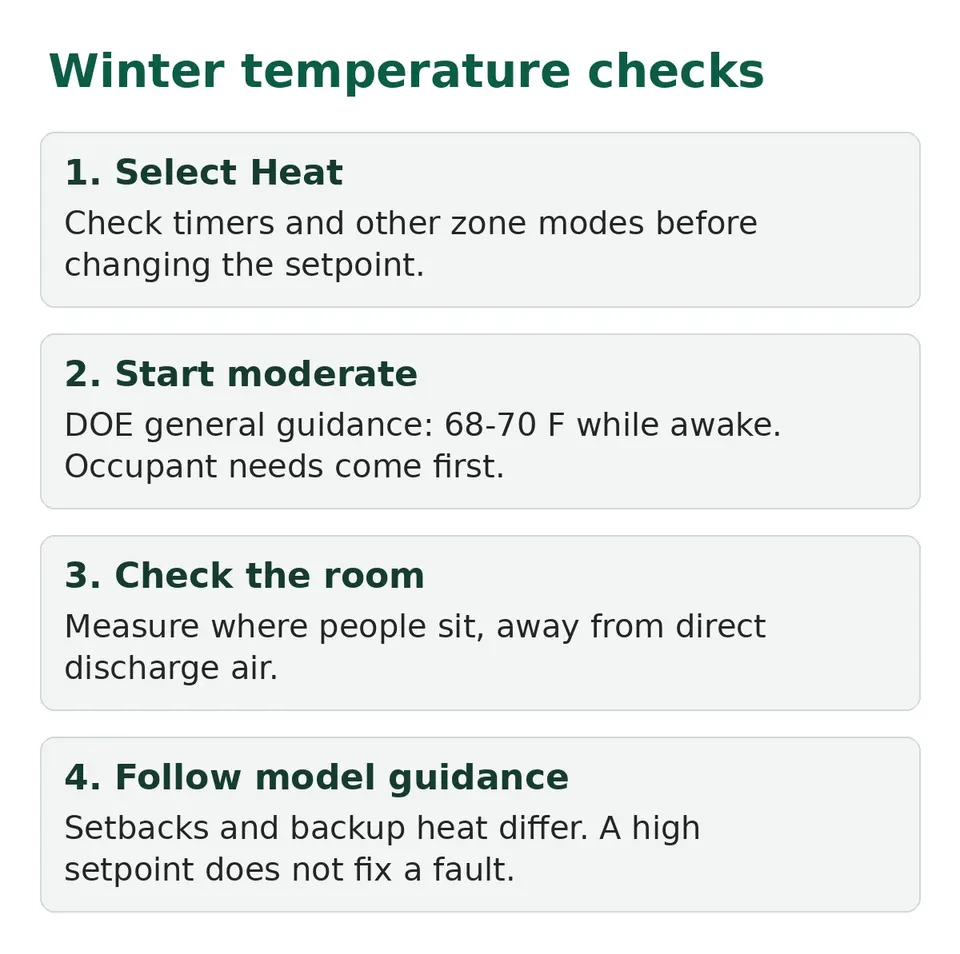
ENERGY STAR recommends choosing a comfortable temperature and keeping it steady. Your comfort, health needs, room layout and equipment can call for a different setting. Do not lower the room below what its occupants need just to follow a website number.
The remote's setpoint is a target, not proof that every part of the room has reached it. Check the occupied area with a room thermometer away from the direct discharge air. If that area stays cold, a higher remote number does not explain the cause.
Select Heat first
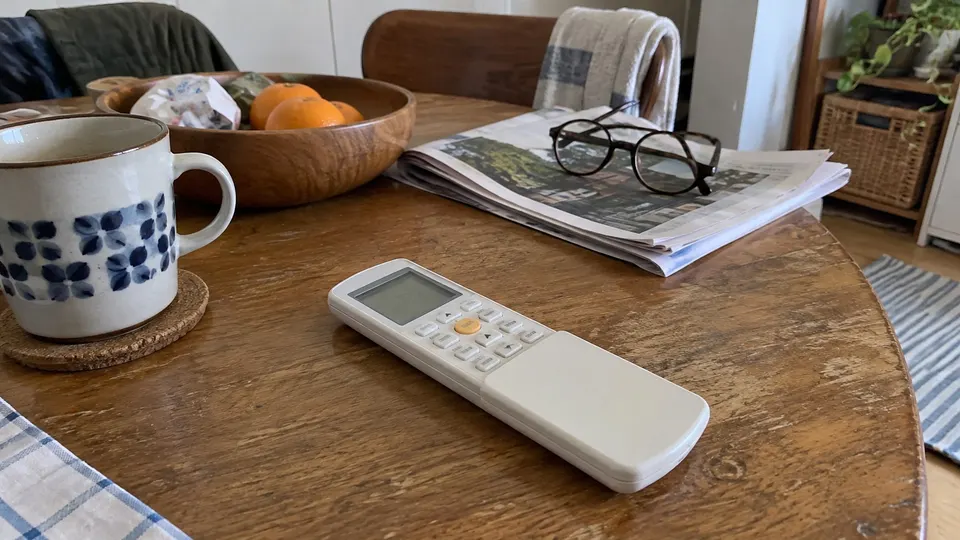
Check the remote mode. FAN circulates air without heating. DRY is for moisture control on supported systems. For deliberate winter heating, select HEAT as your controller manual directs, then set the temperature and fan.
On multi-zone systems, check the other indoor units. Carrier's 40MAHB instructions explain that simultaneous heating and cooling requests can place a unit in standby. Check the requested modes before blaming a weak setpoint.
Should you turn it down at night?
ENERGY STAR advises keeping a heat pump at a steady, comfortable temperature rather than turning it down whenever you leave or go to sleep. Its guidance distinguishes heat pumps from furnaces and boilers.
That does not prove every ductless mini split must run at one fixed number all winter. Check your model, controller and backup heat before copying a furnace schedule. Ask your installer whether a modest scheduled adjustment makes sense for this system.
ENERGY STAR also recommends asking your contractor about sizing and integration with any backup heat. Do not assume every ductless system has an electric resistance heater, and do not change wiring or installer settings yourself.
If the room misses its target
Check accessible items first: mode, timer, doors and windows, filters and clear airflow. Carrier lists these among common poor-performance causes. Check the model's outdoor heating range too.
Cold-weather capacity and normal defrost can change what you notice. Do not keep raising the setpoint or resetting while ignoring a recurring fault. Read mini split winter performance for operating-range limits and mini split heating checks for the safe symptom checklist.
If the room remains below the temperature its occupants need, arrange professional help and a safe alternative heat plan. A high setpoint cannot overcome every equipment or building limitation.
Freeze protection is different
Carrier's supported 40MAHB controller has a 46°F FP function. Panasonic's RFP has its own controls and limits. These low-temperature features are for unoccupied spaces, not ordinary comfort heat. Do not leave an occupied room at that setting just because the display says HEAT.
Freeze protection needs power and a working unit. It does not establish the temperature of every pipe elsewhere in the building. See mini split freeze protection and confirm the building's plan with your installer.
Keep the setup simple
Save your preferred setting, actual room reading and outdoor conditions if trouble recurs. Keep filters clean as the model directs and arrange maintenance when due. Do not bypass sensors or alter backup-heat controls to make a display reading look right.