Short answer: Carrier and Trane list these possible causes of indoor water leaks: a blocked condensate drain line, a very dirty filter that let the coil freeze and then melt, or a unit that is not sitting level. Turn the unit off, put a towel or bucket under it, and check the filter and the outdoor end of the drain line. If water keeps coming, call a technician.
First, is it the indoor or the outdoor unit?
This one question saves a lot of worry.
Water dripping or steaming from the outdoor unit in winter is usually normal. In heat mode, frost can build up on the outdoor coil. The unit then runs a defrost cycle to melt it. Lennox says its mini-split runs defrost for about 5 to 12 minutes and that steam can come off the outdoor unit while it does. If you saw "DF" on the display, read what DF means on a mini split.
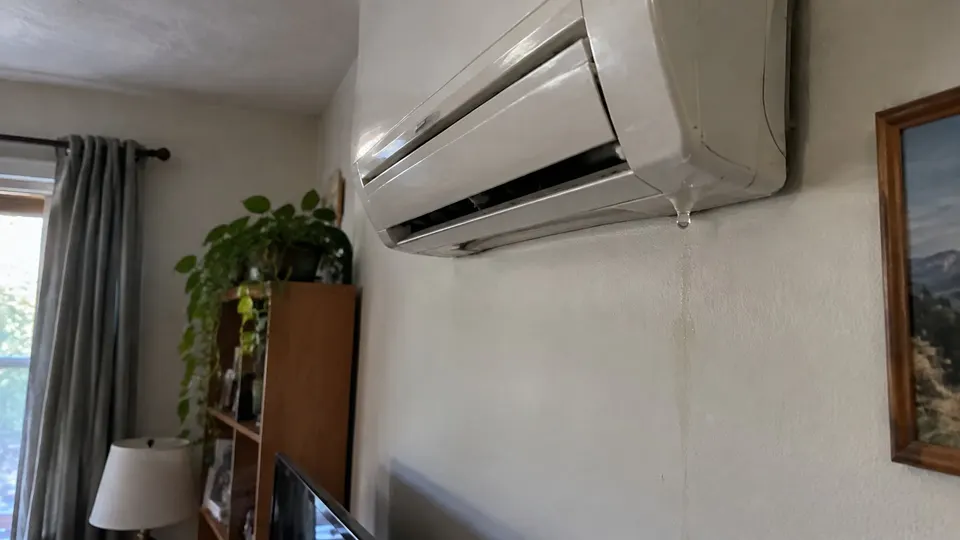
Water inside your home, from the front, the bottom or the wall under the indoor unit, is not normal. That is what the rest of this guide is about.
Why a mini split leaks inside
When your mini split cools, the indoor coil pulls moisture out of the air. That moisture turns into water, drops into a drain pan, and leaves through a drain line. Carrier describes this same path and says excess condensation or a drainage failure is the most common reason for a mini split dripping water.
Trane makes a useful point: a mini split makes condensation while cooling, not in heat mode, so a leak in heat mode does not fit normal condensation.
The usual causes, per Carrier and Trane:
- A dirty air filter that blocks airflow and lets the coil freeze
- A clogged condensate drain line
- A cracked or rusted drain pan
- An indoor unit that is not level, or a drain line without enough downward slope
- Low refrigerant, which can also freeze the coil
Quick decision guide
Match what you see to the most likely cause. Then do only the safe checks listed for it.
| What you notice | Most likely cause | What to do |
|---|---|---|
| Drips from the front or bottom while cooling, filter looks gray and clogged | Dirty filter, coil iced up, then melted | Turn off, clean the filter |
| Water pooling under the unit, filter looks clean | Blocked drain line | Check the outdoor drain end |
| Leak started right after a new install or a move | Level or drain slope problem | Call the installer |
| Ice on the indoor unit that returns after a clean filter | Possible low refrigerant or airflow problem | Stop and call a technician |
| Leak only during heat mode | Not normal condensation | Call a technician |
| Brief water or steam from the outdoor unit in cold weather | Normal defrost | Nothing to fix |
Safe checks, step by step
Grab a towel, a flashlight and your phone. Do these in order, and stop any time you are unsure.
1. Turn the unit off. Use the remote or the power button. Put a towel or bucket under the leak. Trane says a frozen coil will drip as it thaws and that running a unit with a frozen coil can damage it, so let it thaw. You should see the dripping slow down and stop as the ice melts.
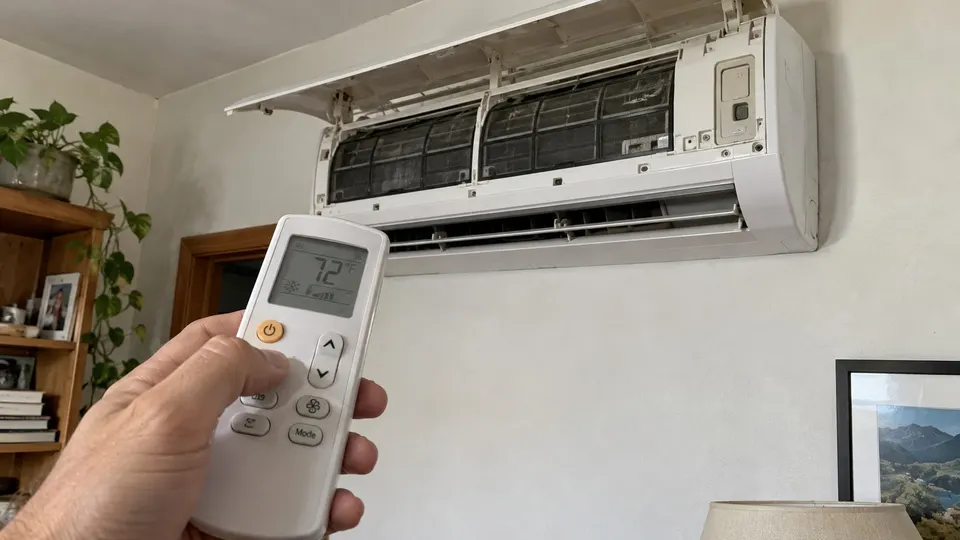
2. Look at the filter. Open the front panel the way your manual shows. Slide the filter out. If it is covered in dust, clean it the way your manual says (see how to clean a mini split), let it dry fully, and put it back. You should now see clear mesh instead of gray fuzz. Carrier recommends checking filters monthly, and a technician quoted by Carrier says the washable filter is the one people forget.
3. Look for ice. If you see ice on the coil or the front, leave the unit off until it has thawed. If ice comes back with a clean filter, the cause is not the filter. Carrier and Trane both say a coil that keeps freezing may mean low refrigerant, which only a technician can fix.
4. Check the outdoor end of the drain line. The drain line usually runs from the indoor unit through the wall and ends outside. Look at where it ends. Is it kinked, crushed, buried, sitting in dirt, or full of algae? Carrier suggests a wet/dry vac on the outdoor end to pull out debris. Do not push wire or sharp tools into the line.
5. Crouch down and look at the unit from the side. Does it seem to tilt forward? Trane notes that an indoor unit tilted forward can overflow and drip. Do not try to re-hang it yourself.
After steps 2 to 4, run the unit on cool for 30 to 60 minutes and watch the bottom edge with your flashlight. If it stays dry, you found it. If a drop forms again, stop and use the list below.
Where to stop
Call a licensed HVAC technician if any of these is true:
- The leak comes back after a clean filter and a clear drain line
- You see ice again after it thaws
- The leak happens in heat mode
- The unit is new, or the leak started after installation or a move
- The drain pan looks cracked or rusted
- Water is near the electrical parts or wiring
Do not open the electrical box, touch the refrigerant lines, or take the unit apart. Trane also warns that some DIY work can void a warranty, so call your installer first if the system is recent.
How to keep it from happening again
- Clean the filter on a schedule. Bryant recommends every two to four weeks, plus a monthly look at the drain line.
- Keep the outdoor drain end clear of soil, leaves and mulch.
- Book a yearly service visit. Carrier lists coil cleaning, drain line flushing and a refrigerant check as part of it.
Related reading
- If a Panasonic unit shows a code along with the leak, see the Panasonic error code guide.
- If your unit uses a pump to lift drain water, read about condensate pump checks.
Sources
- Carrier: Mini split leaking water, diagnosis and repair
- Trane: Mini-split leaking water, causes and solutions
- Bryant: Mini split leaking water
- Lennox mini-split user manual
This guide is general information, not a repair manual for your exact model. Always follow your own unit's manual.